How to Remove Old Silicone from Showers and Splashbacks
Old silicone in a shower or around a splashback rarely fails gracefully. It discolours, peels, collects mould, and eventually stops doing its job of keeping water out of movement joints and corners. Before fresh silicone can be applied, the old bead needs to be removed properly, not just covered over. This guide explains how to remove old silicone safely and correctly, and when it is worth calling in a professional instead.
Key takeaways
- Old silicone should always be fully removed, not resealed over the top, because new silicone will not bond properly to old silicone or mould residue.
- A silicone removal tool, sharp blade or scraper is usually enough for most domestic jobs, along with a suitable silicone remover product for stubborn residue.
- Mould in old silicone often needs specific treatment, not just physical removal, to stop it returning under the new bead.
- The surface must be completely clean, dry and residue-free before new silicone is applied, or the new seal will fail early.
- If old silicone removal reveals water damage, movement, or gaps in the substrate underneath, that is a sign to get a professional assessment before resealing.
Why old silicone needs to be fully removed
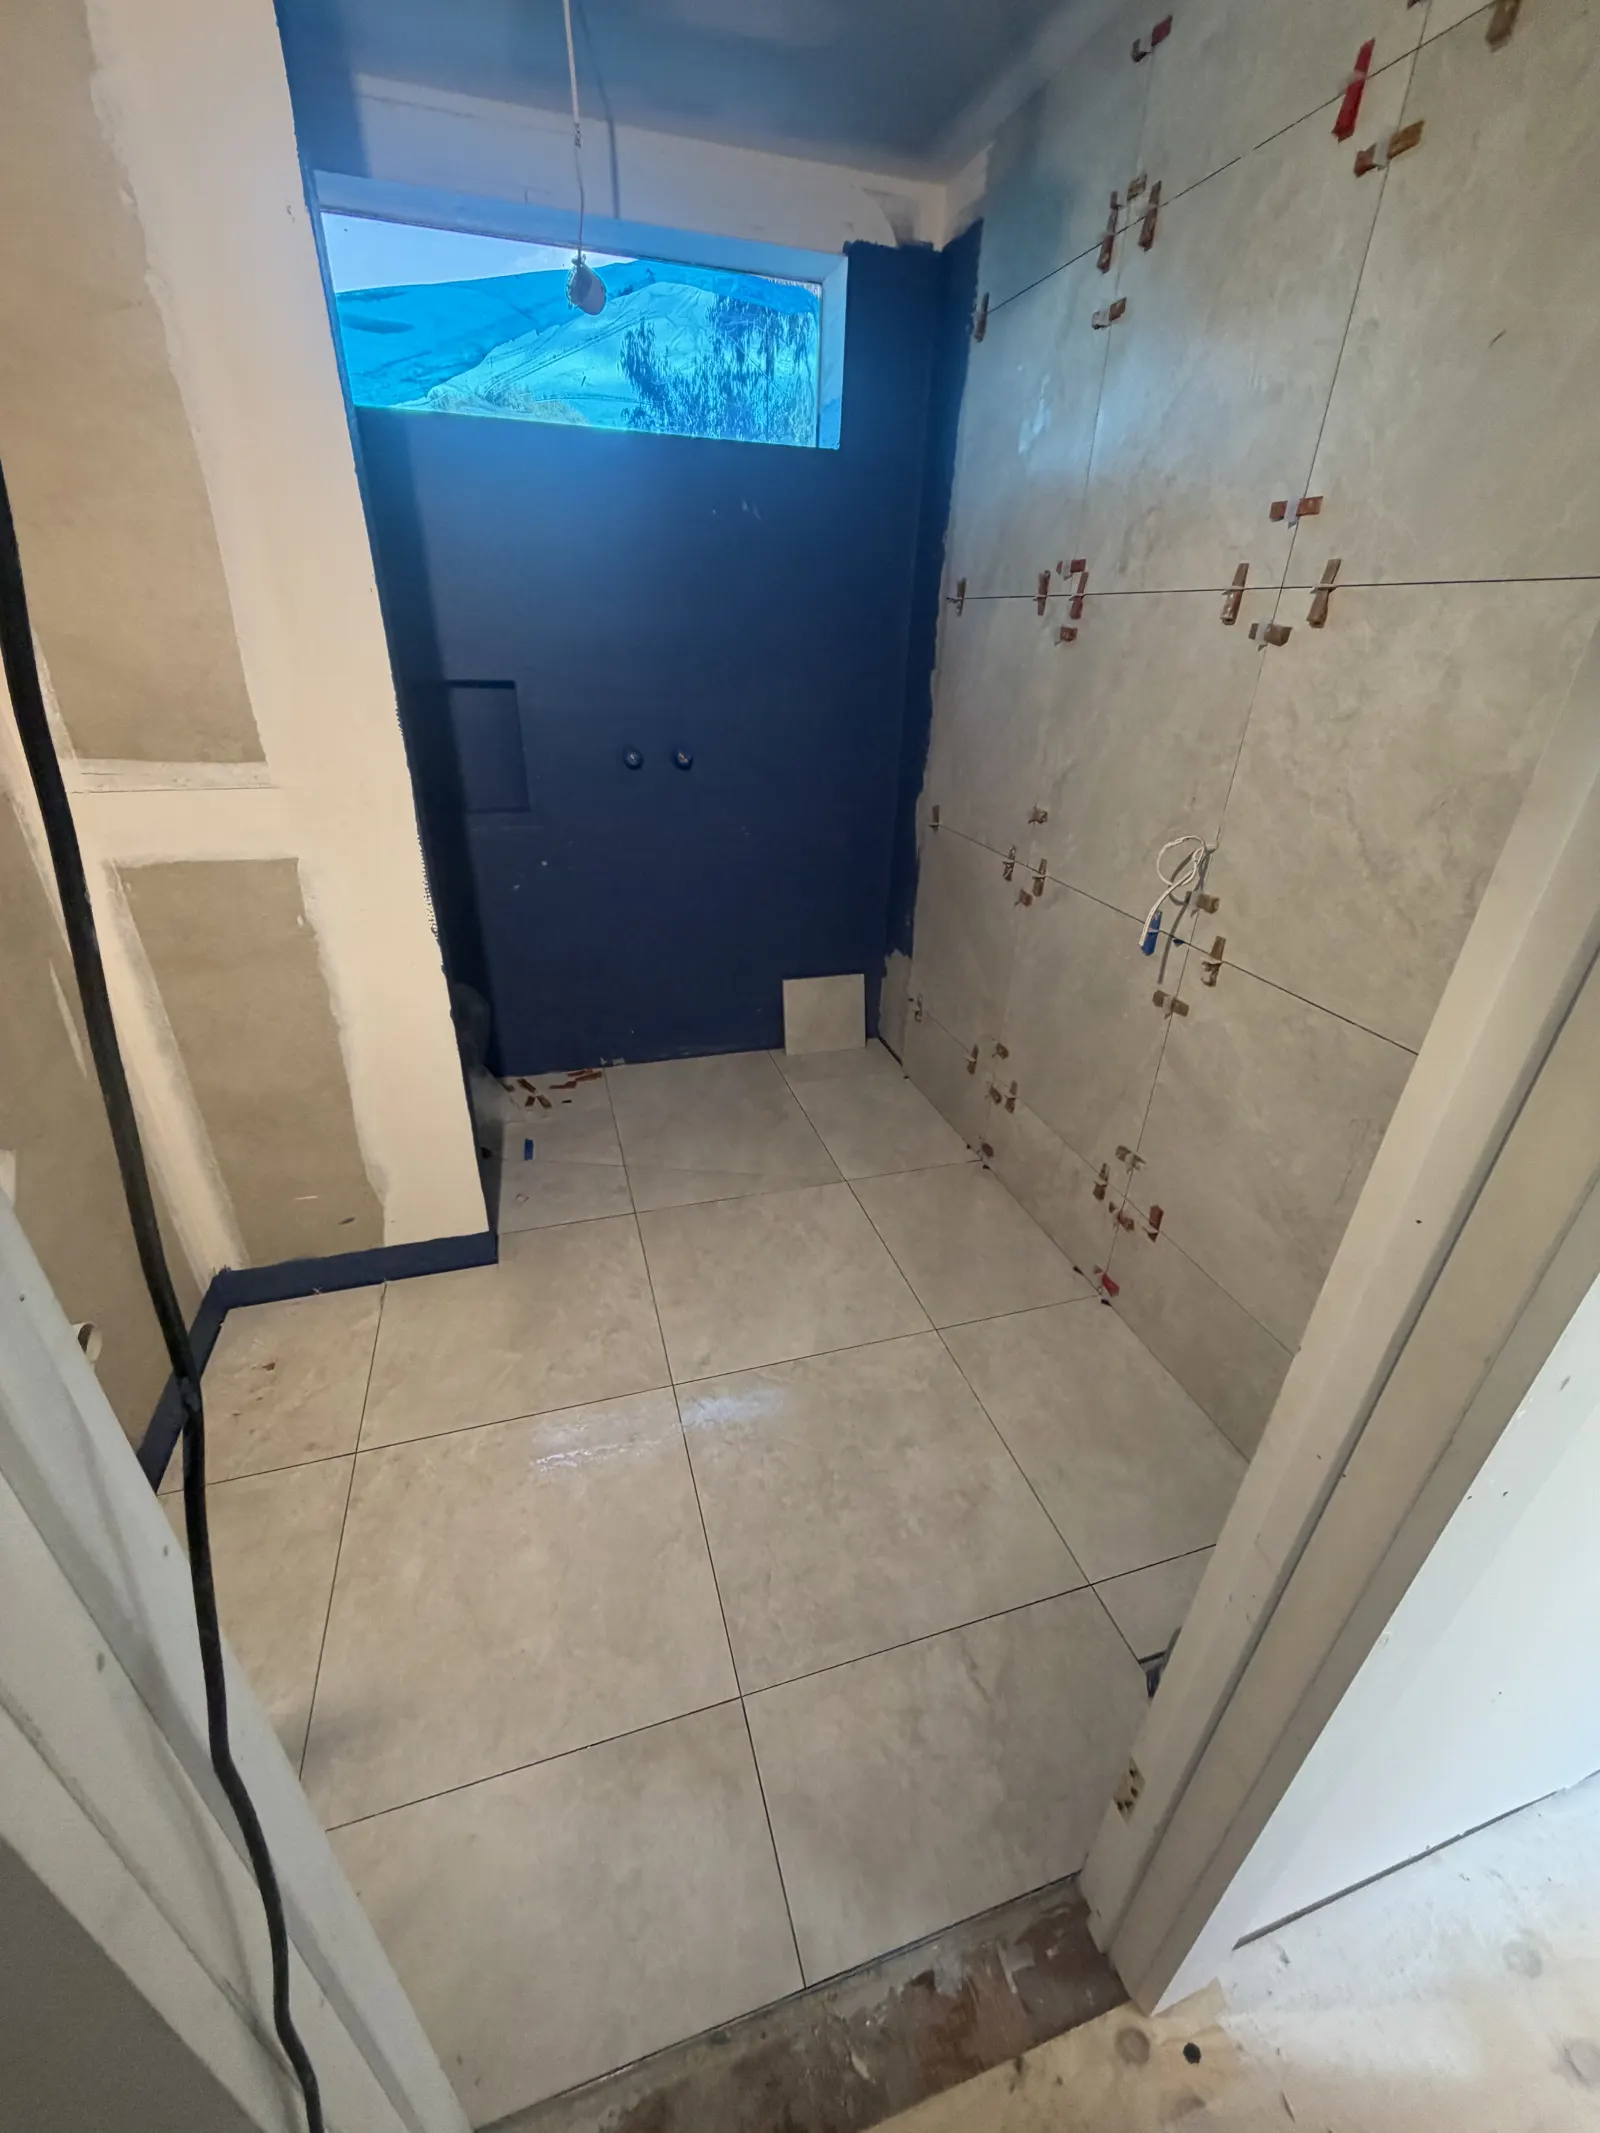
Silicone does not bond well to more silicone, so applying a fresh bead directly over old, failing silicone will not create a proper seal. It may look acceptable for a short time, but water can still find its way underneath the new layer through gaps, mould residue or contamination left behind on the surface. Removing the old silicone completely gives the new bead a clean, sound surface to bond to, which is essential for it to actually keep water out.
Tools and materials for removing old silicone
| Tool or product | Purpose |
|---|---|
| Silicone removal tool or sharp utility blade | Cuts along and lifts the old silicone bead away from tile and substrate surfaces |
| Plastic scraper or old chisel | Removes remaining silicone residue without scratching tiles, glass or stone |
| Silicone remover/dissolver product | Softens stubborn old silicone residue that will not lift cleanly with a blade alone |
| Mould and mildew cleaner | Treats mould residue left behind on tile, grout or glass edges once silicone is removed |
| Methylated spirits or isopropyl alcohol | Final clean of the joint to remove oily residue before new silicone is applied |
| Masking tape | Creates a clean, straight edge for the new silicone bead |
Step-by-step: removing old silicone from a shower or splashback
1. Cut along both edges of the old silicone bead
Use a silicone removal tool or sharp blade to cut along both sides of the existing silicone line, where it meets the tile, glass or benchtop. This breaks the bond and makes it much easier to lift the bead away in one piece rather than picking at it in small fragments.
2. Peel or scrape away the bulk of the old silicone
Once both edges are cut, most of the silicone bead should peel away by hand or with a plastic scraper. Work slowly in corners and around fittings, where silicone is often thicker and more firmly bonded.
3. Remove remaining residue
Small traces of old silicone often remain stuck to the tile or glass surface after the main bead is removed. A plastic scraper or an old credit card style tool can lift most of this without scratching the surface. For stubborn spots, a silicone remover product can help soften the residue so it lifts away more easily.
4. Treat any mould residue
If the old silicone had mould growing on or under it, treat the joint area with a suitable mould and mildew cleaner before resealing. Simply covering mould with fresh silicone does not kill it, and it can reappear through or around the new bead if the surface is not properly treated first.
5. Clean and dry the joint completely
Wipe the entire joint with methylated spirits or isopropyl alcohol to remove any oily residue, soap scum or leftover silicone film. The surface needs to be completely dry before new silicone is applied, so allow enough time, especially in a shower that is used daily.
6. Mask the edges (optional but recommended)
Applying masking tape along both sides of the joint before resealing helps create a clean, straight line and makes it easier to achieve a neat, professional-looking finish.
7. Apply new silicone
Once the joint is clean, dry and properly prepared, apply a new bead of silicone designed for wet areas, tool it smoothly, and remove the masking tape while the silicone is still workable for the cleanest possible finish.
Common mistakes when removing old silicone
- Resealing over old silicone: New silicone will not bond properly and the seal will likely fail again quickly.
- Skipping the mould treatment step: Mould can return through or around new silicone if the surface underneath is not properly cleaned.
- Not letting the surface dry fully: Applying new silicone to a damp joint is one of the most common causes of early failure.
- Using a metal blade too aggressively on tiles or glass: This can scratch or chip surfaces, particularly stone, glass shower screens and polished finishes.
- Ignoring what is revealed underneath: Gaps, soft substrate, movement, or water staining behind the old silicone are signs of a bigger problem than a simple resilicone job.
When old silicone removal reveals a bigger problem
Removing old silicone sometimes uncovers issues that go beyond a simple reseal, such as water staining on the substrate, movement in the joint, soft or damaged material behind the tiles, or gaps that suggest water has been getting through for some time. These are signs that the underlying waterproofing or substrate may need attention, not just a fresh bead of silicone. If you are also weighing up whether the area needs more than a resilicone, see When to Use Caulking vs Grout for guidance on where flexible sealant should be used versus grout.
Grout vs silicone: what should be resealed with what?
It is worth confirming, while you have the old silicone removed, that silicone (not grout) is the correct product for that particular joint. Silicone is generally used at movement joints and changes of plane, such as where a shower wall meets the floor, or where tiles meet a bath, benchtop or glass screen. Grout is used between tiles on the same flat plane. If a section that should be grouted was previously filled with silicone, or vice versa, this is a good opportunity to correct it while resealing.
Removing old silicone from kitchen splashbacks and benchtops
The same core process applies to kitchen splashbacks and benchtop joints, though these areas are usually less exposed to constant moisture than a shower. Old, discoloured or peeling silicone around a splashback or benchtop edge should still be fully removed, cleaned and dried before resealing. For more detail on where and how to seal kitchen benchtop joints, see Kitchen Benchtop Caulking Guide.
Removing old silicone in homes across Melbourne's west
TN Stone regularly removes and replaces old, failing silicone in showers, bathrooms and kitchens across Melbourne's western suburbs, including Brookfield, Werribee, Caroline Springs, Footscray and surrounding areas. Older homes in this region often have silicone joints well past their service life, and Melbourne's seasonal humidity changes can make mould regrowth a common issue if the joint is not properly cleaned and treated during resealing.
When to call a professional
While removing and replacing silicone is a manageable task for many homeowners, it is worth calling a professional if you notice signs of water damage, movement, or a soft substrate once the old silicone is removed, or if mould keeps returning despite proper cleaning and resealing. These can point to a waterproofing issue that a simple resilicone will not resolve.
TN Stone provides tiling, resealing and waterproofing-related services across Melbourne and the western suburbs, including Brookfield, Werribee, Caroline Springs, Footscray and surrounding areas. If you need help removing old silicone or resealing a shower, splashback or benchtop, contact TN Stone for advice or a quote.
Need help removing old silicone or resealing your shower or splashback? Get a free, no-obligation quote from TN Stone.
Request a Free QuoteFrequently asked questions
Can I just apply new silicone over the old silicone?
No. New silicone will not bond properly to old silicone, and the seal is likely to fail again quickly. The old bead should always be fully removed first.
What is the best tool for removing old silicone?
A dedicated silicone removal tool or a sharp utility blade, used to cut along both edges of the old bead, is usually the most effective way to lift it away cleanly.
How do I stop mould coming back after resealing?
Treat any mould residue with a proper mould and mildew cleaner before resealing, and make sure the surface is completely clean and dry. Covering mould with new silicone alone will not stop it returning.
Why does my new silicone keep failing shortly after I reseal?
This is often caused by incomplete removal of old silicone residue, applying silicone to a damp surface, or an underlying movement or waterproofing issue that a simple resilicone cannot fix.
Is it normal for silicone in a shower to need replacing regularly?
Yes, silicone in showers has a limited service life and typically needs replacing periodically as part of normal bathroom maintenance, especially in high-use, high-moisture areas.
Common questions
See all FAQs →Related guides: When to Use Caulking vs Grout · Kitchen Benchtop Caulking Guide · How to Clean Grout and Remove Mould