Bathroom Waterproofing Guide: What Homeowners Need to Know in Australia
Waterproofing is the part of a bathroom renovation nobody sees once the tiles go down, but it is one of the most important. Get it wrong and water can travel behind walls and under floors, leading to mould, rot, damaged flooring in the room below, and expensive repairs. In this guide, we explain where waterproofing is required, what the process involves, and how to tell if an existing membrane has failed.
Key takeaways
- Wet areas in Australian homes must be waterproofed in line with AS 3740 and the National Construction Code.
- Waterproofing covers more than the shower floor: walls, corners, hobs, floor wastes and penetrations all need correct detailing.
- Common failure signs include ceiling staining below a bathroom, musty smells, loose tiles and visible dampness.
- A failed membrane should be replaced before retiling; tiling over a failed membrane just hides the problem.
Why bathroom waterproofing matters
Bathrooms, showers and laundries are exposed to water every day. Without a correctly installed waterproof membrane beneath the tiles, water can gradually work its way through grout lines, movement joints and penetrations into the substrate below. Getting professional bathroom waterproofing right from the start avoids all of this.
Over time this can lead to:
- Mould and mildew growing inside wall and floor cavities
- Water stains or bubbling paint on ceilings in the room below
- Swelling or rotting of timber floor and wall framing
- Corrosion of metal fixings and structural components
- Costly remedial work that goes well beyond a simple retile
Correct waterproofing is significantly cheaper than repairing the damage caused by a failed one, which is why it is treated as a compliance item rather than an optional extra.
Where waterproofing is required
In Australia, wet area waterproofing is governed by AS 3740 (Waterproofing of domestic wet areas) and referenced by the National Construction Code. It sets out minimum requirements for where a membrane is required and how high it needs to extend.
Areas that typically require waterproofing include:
- Shower floors and walls within the shower recess
- Bathroom floors, particularly where there is a floor waste
- Hobless or step-free ("walk-in") showers, which generally require a larger waterproofed area extending further into the bathroom
- Laundries, particularly around the floor waste and washing machine area
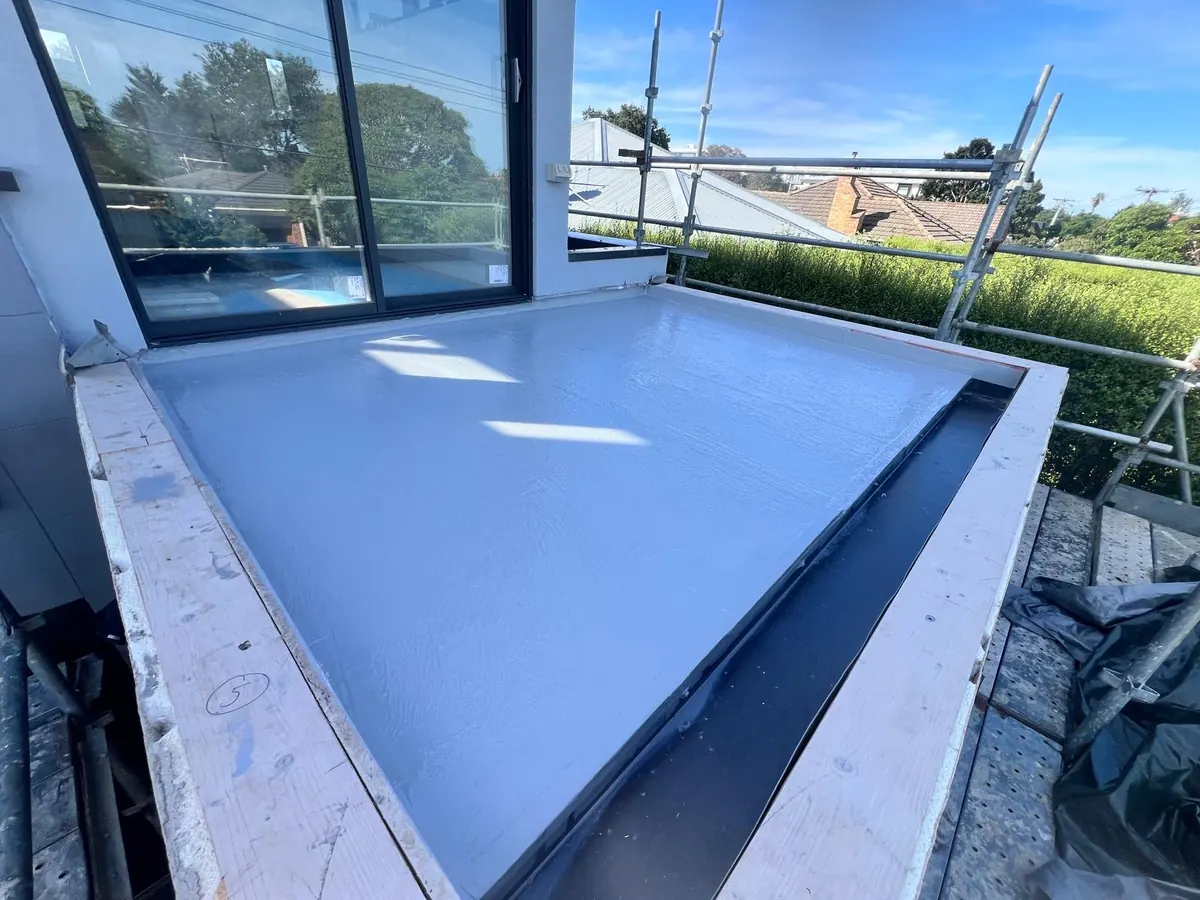
- Balconies, terraces and podium decks exposed to weather
- Planter boxes and other landscape features that hold moisture against a building
The exact height and extent of the membrane depends on the shower or wet area design, the flooring material, and whether the area has a hob or step. A qualified waterproofer or tiler can confirm what is required for your specific layout.
Signs your waterproofing may have failed
Waterproofing failure is not always obvious from inside the bathroom itself. Common warning signs include:
- Ceiling staining below the bathroom: water marks or bubbling paint on a ceiling in the room underneath a bathroom or shower.
- Musty smells: a persistent damp or mouldy odour that doesn't clear with ventilation.
- Loose or hollow-sounding tiles: tiles that have lifted or sound hollow when tapped can indicate moisture has broken the bond beneath.
- Efflorescence: white, powdery mineral deposits on grout, tiles or nearby skirting, caused by water carrying salts to the surface.
- Visible dampness or discolouration near skirting boards, door frames or adjoining rooms.
- Persistent grout or silicone failure in the same spot, even after repairs.
If you notice any of these signs, it's worth getting the area inspected before proceeding with cosmetic repairs like regrouting, since surface fixes won't resolve an underlying membrane problem.
The waterproofing process
Waterproofing is not a single coat of paint. It is a system — substrate, primer, detailing, membrane and curing — and it only performs as well as its weakest part. The exact preparation, primer, film thickness, number of coats, drying and curing times and detailing all depend on the waterproofing system selected, the manufacturer's instructions for that product, and the compliance requirements that apply to your project. What follows explains in plain terms what the work involves; it is not an installation specification.
1. Inspection and assessment
A waterproofer assesses the substrate, falls to the drain, penetrations, corners and existing membrane condition (for renovations) before recommending the right system. Substrate matters more than people expect: a sheeted wall, a rendered wall, a timber floor and a concrete slab each move and absorb differently, and not every membrane suits every one of them.
2. Surface preparation
Surfaces are cleaned, primed and prepared. Cracks, uneven areas and movement joints are treated so the membrane can bond correctly and accommodate normal building movement. Where the selected system calls for one, a compatible primer is applied — primers control how much the substrate draws moisture out of the membrane and help it key properly. Dust, residue, or a primer not matched to the membrane are all common reasons a membrane later lifts.
3. Detailing junctions and penetrations
This stage decides whether a bathroom leaks, and it is the one most often rushed. Wall-to-floor junctions, internal corners, hobs and every penetration — floor waste, tap bodies, shower rail fixings, niches — are treated before the main membrane goes on. Junctions typically receive reinforcing tape or fabric, and where the system requires it, a bond breaker is used so the membrane can stretch across a moving joint rather than being bonded rigidly on both sides and tearing. Waterstops at shower entries and door openings stop water tracking out of the wet area beneath the tiles.
Corners, junctions and penetrations fail first because they are where two planes meet and move independently, and where the membrane ends up thinnest if it is simply brushed around a shape instead of being detailed properly.
4. Membrane application
The waterproof membrane is applied to the floor, walls, corners, hobs and any penetrations such as floor wastes, tap fittings and niches. It is normally built up in coats, often in alternating directions, so the finished film is continuous and reaches the thickness the manufacturer specifies. Thin spots — particularly on vertical surfaces, where wet membrane can sag — cause as many problems as a missed area.
5. Curing
The membrane needs time to cure before tiling begins. Curing times vary by product and conditions, but rushing this step is one of the most common causes of early failure. Temperature, humidity and ventilation all affect how long a membrane takes to reach full cure, which is why the same product can be ready overnight on one job and need considerably longer on another.
6. Quality check and handover
Before tiling proceeds, critical areas are checked. Project-specific waterproofing documentation can be provided where required for compliance or resale purposes.
Bathroom Waterproofing Material and Membrane Types
Bathroom waterproofing material generally falls into two broad categories: liquid-applied membranes (painted or rolled on in coats) and sheet membranes (pre-formed material bonded to the substrate). Most Australian bathroom renovations use a liquid-applied bathroom waterproofing membrane, since it moulds easily around drains, corners, hobs and penetrations without joins.
The right waterproofing membrane depends on the substrate (fibre cement sheet, concrete, particleboard), the wet area classification, and whether the surface will be tiled, painted or left as a podium or balcony deck. A waterproofer will select a membrane system rated for the substrate and exposure level, then apply it in the coats and thickness specified by the manufacturer to meet AS 3740.
Common waterproofing mistakes
- Skipping corners and upturns: these are the highest-risk areas for leaks and need reinforced detailing, not just a flat coat.
- Not extending the membrane high enough: falling short of the height required for the shower type leaves splash zones unprotected.
- Rushing curing time: tiling before the membrane has cured can trap moisture or compromise the membrane.
- Poor falls to the drain: incorrect floor falls can leave water pooling instead of draining, increasing the load on the membrane over time.
- Ignoring penetrations: tap fittings, niches and floor wastes need careful detailing, as these are common leak points.
- DIY waterproofing on a full wet area: waterproofing is a compliance-critical trade; a poorly installed membrane can be far more expensive to fix than to install correctly the first time.
Bathroom Renovation Waterproofing: What Changes When You Retile
If you're retiling an existing bathroom, the waterproofing membrane needs to be assessed, not assumed. A membrane that is still within its serviceable life and undamaged may be able to stay in place, but any sign of failure, age-related deterioration, or damage during tile removal means it should be replaced before new tiles are installed.
This is also the point where it's worth reviewing whether a full retile is the better option compared with a surface-level regrout — see our guide on when to regrout vs retile a bathroom for more detail.
When to call a professional
Waterproofing is one of the few areas of a bathroom renovation where it genuinely pays to use an experienced, suitably licensed trade. Consider calling a professional if:
- You're renovating a bathroom, laundry, balcony or other wet area.
- You've noticed ceiling staining, musty smells or loose tiles that may point to a leak.
- You need compliance documentation for a renovation, sale or building approval.
- An existing membrane is older, damaged, or you're unsure of its condition.
TN Stone provides waterproofing for bathrooms, balconies, laundries and external areas across Melbourne and the western suburbs, including Brookfield, Werribee, Footscray and surrounding areas, working alongside our tiling and stonemasonry teams for a coordinated result.
Renovating a wet area or worried about a leak? Get a free, no-obligation quote from TN Stone.
Request a Free QuoteFrequently asked questions
Is waterproofing a legal requirement in Australia?
Yes. Wet areas such as bathrooms, showers and laundries must be waterproofed in accordance with the National Construction Code and AS 3740, the Australian Standard for waterproofing of domestic wet areas.
How high should shower waterproofing go up the wall?
AS 3740 sets minimum heights depending on the shower type, generally around 1800mm within the shower recess and lower elsewhere in the bathroom, though a hobless or step-free shower usually needs a larger waterproofed area.
How do I know if my bathroom waterproofing has failed?
Common signs include water stains or bubbling paint on a ceiling below the bathroom, a musty smell, loose or hollow-sounding tiles, and visible efflorescence or dampness near skirting and adjoining rooms.
Can I retile a bathroom without redoing the waterproofing?
It depends on the condition of the existing membrane. If the membrane is intact and still within its serviceable life, retiling over it may be possible, but a failed or aged membrane should be replaced before new tiles go down.
How long does waterproofing take to cure?
Curing times vary by product, but many membranes need at least 24 to 48 hours between coats and before tiling, with full cure sometimes taking longer depending on temperature and humidity.